Effective Ways to Use a Stud Finder for Accurate Home Improvements in 2025
Understanding How a Stud Finder Works
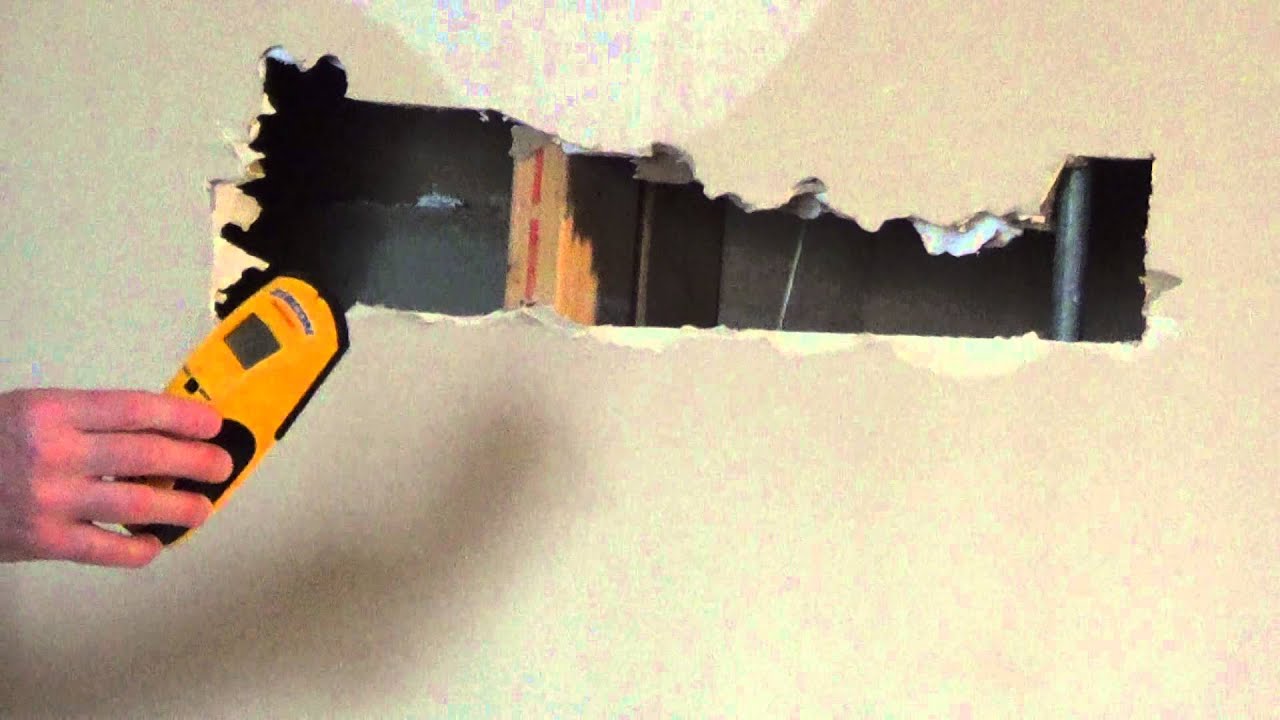
A stud finder is a vital tool in the DIY home improvement toolkit. **Understanding how a stud finder works** is the first step toward using it effectively. Most stud finders operate on either magnetic or electronic principles. Magnetic stud finders detect screws or nails in wall studs by sensing metal, while electronic models scan the wall’s density to locate wood or metal studs behind drywall or other surfaces. As you work on **wall stud identification**, it’s essential to know that the accuracy of these devices can vary based on the stud finder type and the conditions of your wall structure. For instance, over time, users have noticed inconsistencies with older models, making modern electronic stud finders a preferable option for reliability and accuracy.
Types of Stud Finders
When you’re considering **choosing a stud finder**, it’s beneficial to understand the different types available. Electronic stud finders typically offer more features, such as **LED indicators** that provide clear signals for detected studs. They also often have various scan modes designed for different wall types. On the other hand, manual stud finders are generally more cost-effective and simple to use, making them perfect for beginners. Ultimately, your choice should depend on your project needs and budget.
Calibration and Maintenance of Stud Finders
Proper **stud finder maintenance** and calibration are crucial for accurate results. A common mistake is to use a stud finder without ensuring it’s calibrated based on your specific wall type. To accurately calibrate your stud finder, press it flat against the wall and turn it on until it beeps or gives a visual cue indicating that it’s set. Regularly checking the battery life and cleaning the device is essential for optimal performance.
Wall Structures and Stud Location
Before starting any wall drilling project, understanding wall structures is key. Traditional wood stud frames in houses have their own set spacing standards, helping ensure that makeshift architectural elements remain secure. By knowing the spacing—typically 16 or 24 inches on center—you can fairly predict where studs will be located when using your stud finder. This understanding complements effective **stud location methods**, ensuring you drill at the right points.
Best Practices for Using a Stud Finder
Implementing **best stud finder techniques** enhances your success in identifying stud locations accurately. Start your search low on the wall, especially if you’re unsure where the studs are. Use a light hand when moving the stud finder horizontally across the wall until the **stud finder’s scan mode** lights up or beeps. This approach minimizes false readings and allows for the more accurate pinpointing of wooden studs or **metal studs** if you’re working on more specialized projects.
Common Mistakes to Avoid
When using a stud finder, being aware of common mistakes can save time and frustration. One prevalent issue is relying solely on the signals of a stud finder without additional verification. Always knock gently on the wall above the detected stud area, listening for changes in sound—a hollow sound indicates no stud, while a solid sound confirms wood. This simple check reinforces the reliability of your derived stud readings.
Adjusting and Positioning Your Stud Finder
Knowing **how to adjust your stud finder** for optimal usage is critical. Position the tool flush against the wall, applying light pressure. Adjustments may be necessary based on the wall type, as drywall density can affect reading accuracy. If you’re scanning a wall with electrical components, opt for mode settings on your stud finder that sense both wood and metal to ensure safety before drilling.
Understanding Stud Finder LED Indicators
One of the key benefits of electronic stud finders is their **LED indicators**, which visually communicate where a stud is located. After selecting the right mode, move the finder across the wall until it detects a stud. The LEDs will light up, indicating an approximate location. Some devices also provide depth settings, which can be particularly useful in walls with added insulation or multi-layer structures. Regularly consult your **stud finder user manual** to maximize these features for accurate results.
Using a Stud Finder in Different Settings
Understanding how to use a stud finder effectively extends to various environments and wall types. Whether you’re working with drywall, plaster, or concrete, each application presents unique challenges and requires different techniques.
Stud Finding for Drywall
**Using a stud finder for drywall** involves familiarizing yourself with the wall type’s distinct characteristics. Ideally, drywall is ½ inch thick, making it perfect for the common stud distances of 16 or 24 inches. When scanning, it’s best to move slowly, paying close attention to any beeping sound, and follow up with verification methods that validate findings. A pro tip is to begin your search from previously known stud positions or electrical outlets.
Finding Studs in Different Building Types
Each building type may house its studs differently. When working in newer homes, features like double-stud framing or metal studs may be encountered, which require manual stud finder capabilities. Older buildings could have irregular stud configurations or additional materials insulating the walls, thus leveraging a **magnetic feature** in some stud finders can be critical to achieving accuracy during the search.
Case Studies: Successful Stud Finder Applications
Numerous DIY enthusiasts have successfully used stud finders to tackle complex home improvement projects. For instance, integrating a stud finder in a living room remodel led to a seamless installation of floating shelves, with accurate stud identification supporting the weight of heavy decor. Exploring various case studies like this can inspire and inform new projects, showcasing the effective **application tips of stud finders** in real-world scenarios.
Key Takeaways
- Understanding how different types of stud finders work is crucial for accurate wall inspection.
- Calibration, maintenance, and proper positioning are essential for using a stud finder effectively.
- Being mindful of common mistakes when using a stud finder can lead to better outcomes.
- Knowledge of wall types and their particulars enhances your ability to locate studs accurately.
- Exploring successful case studies can provide motivation and insight using stud finders in your projects.
FAQ
1. What is the best stud finder for home use?
The best stud finder largely depends on your specific needs. Electronic stud finders generally offer enhanced accuracy and additional features suited for varying wall types, while manual stud finders might be more budget-friendly for simple tasks. Always check **stud finder reviews** to compare models.
2. Can I use a stud finder on walls with electrical wiring?
Yes, many electronic stud finders come with a mode specifically designed to detect electrical wiring alongside studs, promoting **using stud finders safely** to prevent accidents during drilling.
3. What should I do if my stud finder is giving inaccurate readings?
If your stud finder is inaccurate, first ensure it’s calibrated correctly. Clean the sensors, check the battery life, and refer to the **stud finder troubleshooting** section in the user manual. Environmental factors can also hinder performance.
4. How do I determine the stud spacing in my walls?
Common stud spacing is typically 16 or 24 inches apart. However, using your stud finder along with knocking lightly on the wall can help confirm actual stud locations.
5. Are there specific techniques for finding studs in plaster walls?
When looking for studs in plaster walls, you may need to utilize both a magnetic stud finder to detect nails or screws and confirm with the electronic stud finder to ensure accuracy beneath the plaster.
6. What is the significance of LED indicators on stud finders?
**Stud finder LED indicators** provide immediate visual feedback on detected studs, significantly enhancing user experience by making it easier to identify successful locational readings quickly.
7. How can I improve stud finding skills?
Improving your stud finding skills includes regular practice, familiarizing yourself with your particular stud finder’s features, and learning about the specific structures of your walls to understand the potential stud locations better.